Naked Woman #1 by Ian Hooton/science Photo Library
![](https://images.fineartamerica.com/images-medium-large-5/1-naked-woman-ian-hootonscience-photo-library.jpg)
Naked Woman #1 Photograph by Ian Hooton/science Photo Library
Purchase an art print of the photograph Young Woman's Lower Back #1 by Ian Hooton/science Photo Library. Choose from multiple sizes and hundreds of
![](https://render.fineartamerica.com/images/rendered/default/framed-print-leaning/images-medium-5/1-young-womans-lower-back-ian-hootonscience-photo-library.jpg?style=horizontal)
Young Woman's Lower Back #1 Art Print by Ian Hooton/science Photo Library
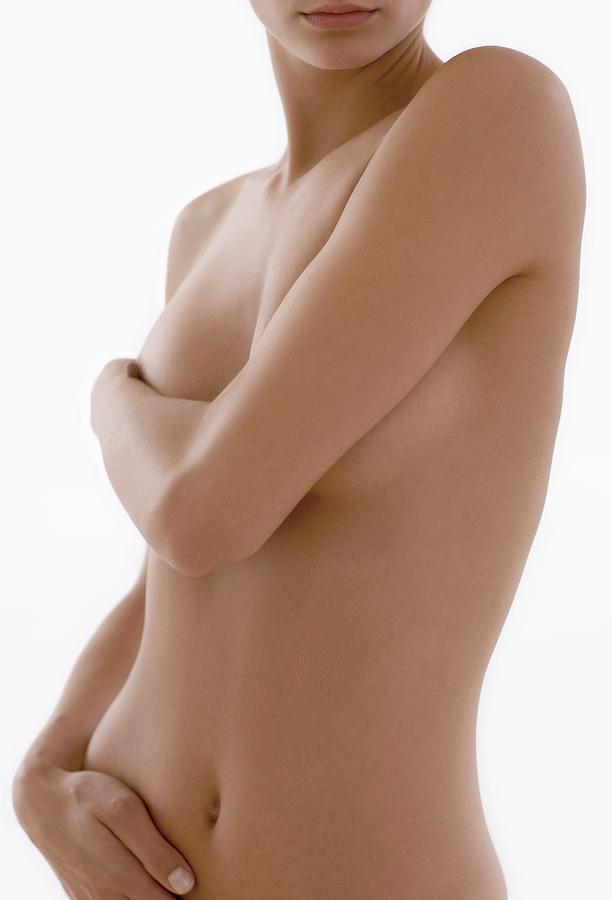
Woman Covering Herself #2 acrylic print by Ian Hooton/science Photo Library. Bring your artwork to life with the stylish lines and added depth of an
![](https://render.fineartamerica.com/images/rendered/default/acrylic-print/6.5/10/hangingwire/break/images-medium-5/2-woman-covering-herself-ian-hootonscience-photo-library.jpg)
Woman Covering Herself #2 Acrylic Print
Woman's Breast metal print by Ian Hooton/science Photo Library. Bring your artwork to life with the stylish lines and added depth of a metal print.
![](https://render.fineartamerica.com/images/rendered/default/metal-print/10/10/break/images-medium-5/womans-breast-ian-hootonscience-photo-library.jpg)
Woman's Breast Metal Print
![](https://render.fineartamerica.com/images/rendered/default/acrylic-print/6.5/10/hangingwire/break/images-medium-5/3-womans-buttocks-ian-hootonscience-photo-library.jpg)
Woman's Buttocks #3 Acrylic Print by Ian Hooton/science Photo
![](https://render.fineartamerica.com/images/rendered/default/framed-print-leaning/images-medium-5/1-condom-use-ian-hootonscience-photo-library.jpg?style=vertical)
Condom Use #1 Poster by Ian Hooton/science Photo Library - Pixels
![](https://images.fineartamerica.com/images-medium-large-5/1-womans-buttocks-ian-hootonscience-photo-library.jpg)
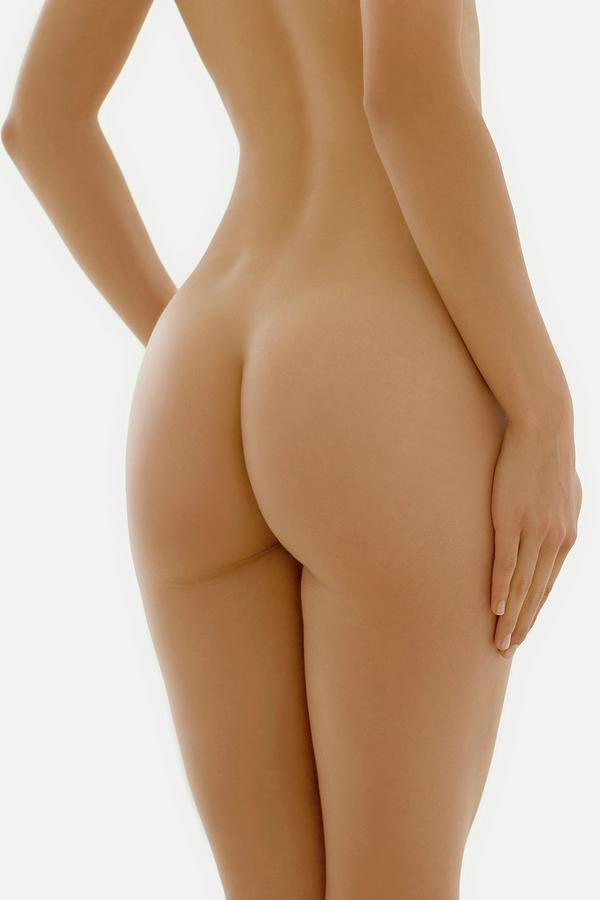
Woman's Buttocks #1 by Ian Hooton/science Photo Library
Naked Woman #7 framed print by Ian Hooton/science Photo Library. Bring your print to life with hundreds of different frame and mat combinations. Our
![](https://render.fineartamerica.com/images/rendered/default/framed-print/images-medium-5/7-naked-woman-ian-hootonscience-photo-library.jpg?imgWI=6.5&imgHI=10&sku=CRQ13&mat1=PM918&mat2=&t=2&b=2&l=2&r=2&off=0.5&frameW=0.875)
Naked Woman #7 Framed Print
Young Woman Lying On Her Front On A Bed wood print by Ian Hooton/science Photo Library. Bring your artwork to life with the texture and added depth of
![](https://render.fineartamerica.com/images/rendered/default/wood-print/6.5/10/break/images-medium-5/young-woman-lying-on-her-front-on-a-bed-ian-hootonscience-photo-library.jpg)
Young Woman Lying On Her Front On A Bed Wood Print
Naked Woman #7 acrylic print by Ian Hooton/science Photo Library. Bring your artwork to life with the stylish lines and added depth of an acrylic
![](https://render.fineartamerica.com/images/rendered/default/acrylic-print/6.5/10/hangingwire/break/images-medium-5/7-naked-woman-ian-hootonscience-photo-library.jpg)
Naked Woman #7 Acrylic Print
Woman's Back #2 Photograph by Ian Hooton/science Photo Library
![](https://images.fineartamerica.com/images-medium-large-5/2-womans-back-ian-hootonscience-photo-library.jpg)
Woman's Back #2 by Ian Hooton/science Photo Library
Woman's Shoulder #1 Photograph by Ian Hooton/science Photo Library
![](https://images.fineartamerica.com/images-medium-large-5/1-womans-shoulder-ian-hootonscience-photo-library.jpg)
Woman's Shoulder #1 Photograph by Ian Hooton/science Photo Library
![](https://images.fineartamerica.com/images-medium-large-5/11-womans-back-ian-hootonscience-photo-library.jpg)
Woman's Back #11 by Ian Hooton/science Photo Library
![](https://images.fineartamerica.com/images-medium-large-5/young-women-sleeping-ian-hootonscience-photo-library.jpg)
Young Women Sleeping Photograph by Ian Hooton/science Photo
![](https://images.fineartamerica.com/images-medium-large-5/1-young-womans-lower-back-ian-hootonscience-photo-library.jpg)
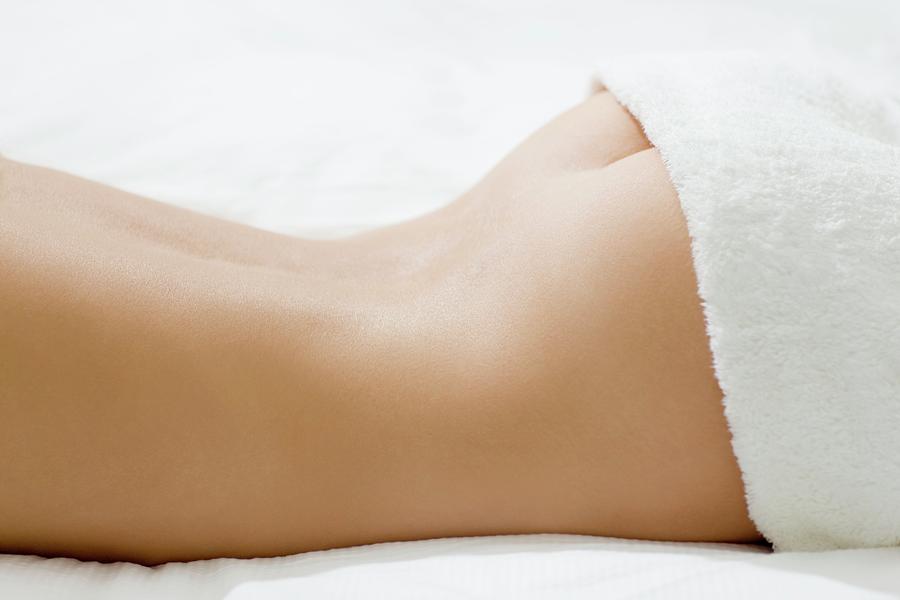
Young Woman's Lower Back #1 Photograph by Ian Hooton/science Photo